It feels like a week ago Advent began, yet it is already over. We have really enjoyed all of the little things to do getting ready for this time, the time to honour the child-like, the precious, the innocent and the equal-ness of all people.
We began with an advent calendar that I picked up from a local bookshop here in Berlin. It is really the most sweet thing. The little picture below shows what Miss K called the doctor’s house – as you can see, when we opened the window, there was an advent wreath with four candles burning in it. More on the advent wreath later.

Advent Calendar – Mrs Winter Creates
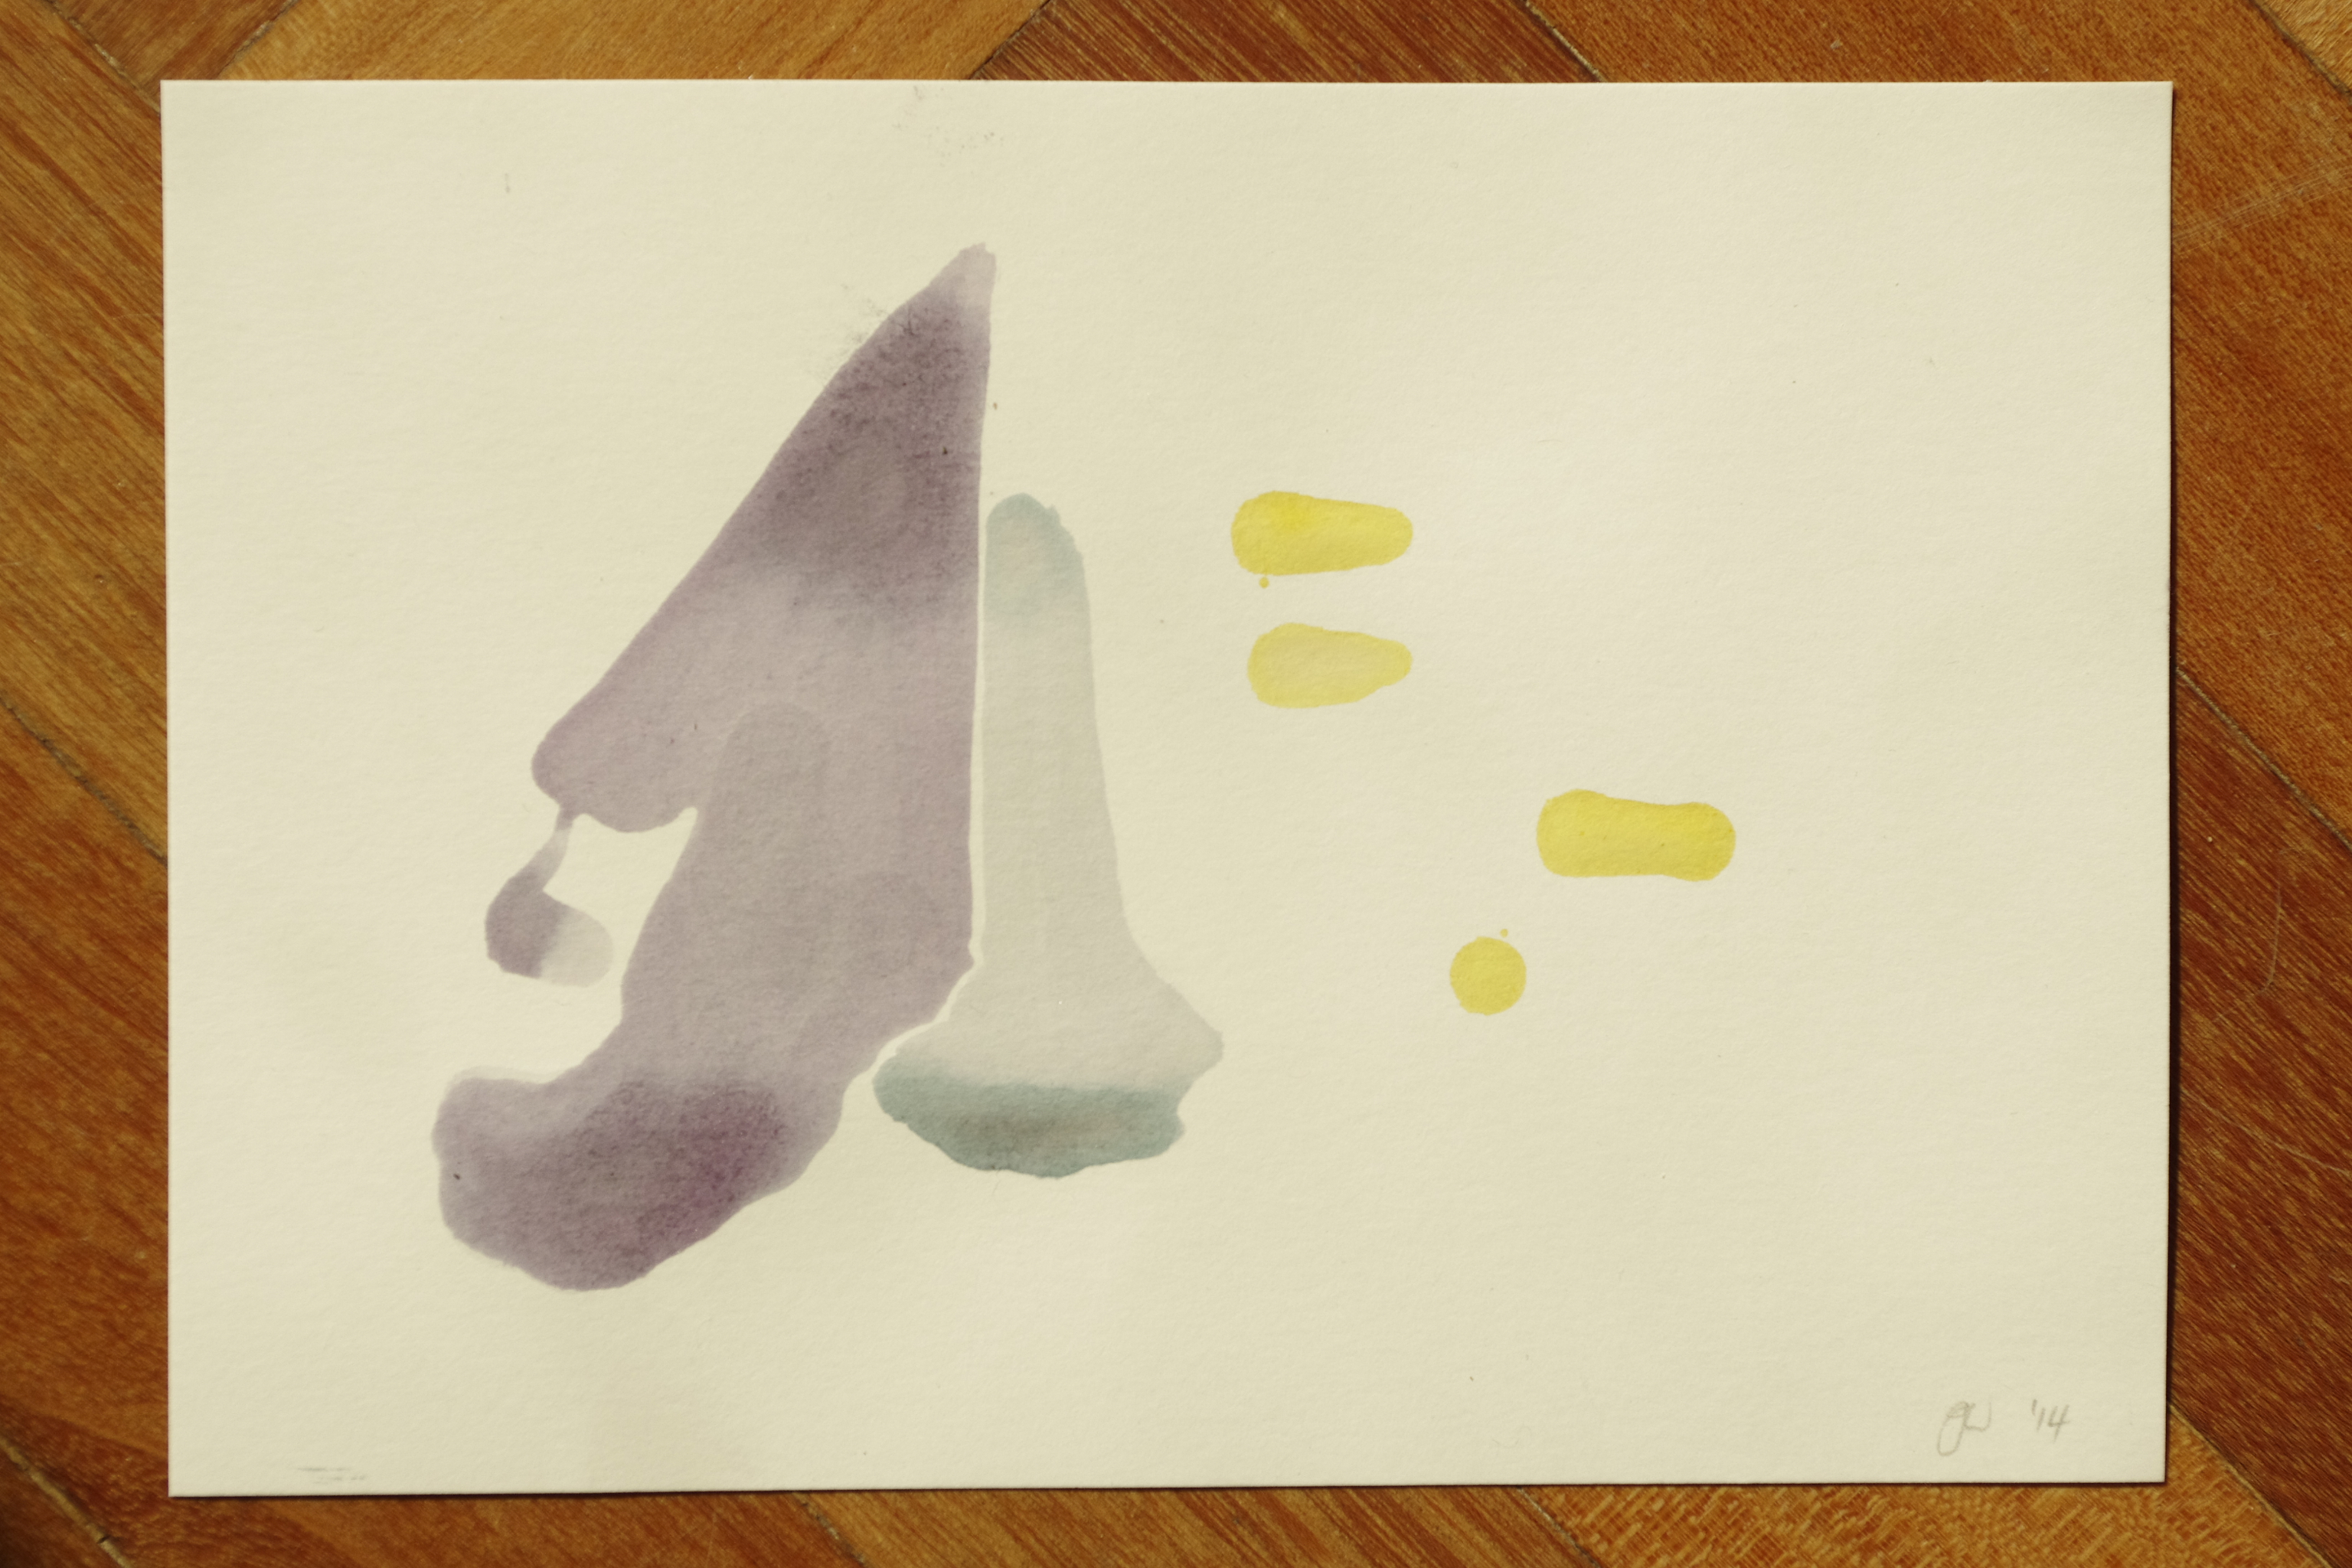
Miss K and I made about 5 large sheets of stamped wrapping paper early on in Advent. I carved out some stamps from corks and we used plant-based watercolour paints to do our work.

Home made stamps – Mrs Winter Creates

Home made stamps – Mrs Winter Creates

Home made stamps – Mrs Winter Creates
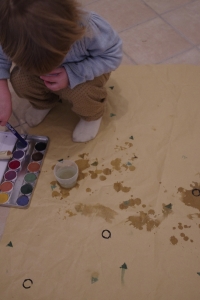
Home made stamps – Mrs Winter Creates
The paper we used was filling in some boxes we had sent to us, so it was a great upcycle kind of activity.
We also got to work on a very German custom of making cookies and giving them as gifts. The first batch were chocolate, but we also made vanilla, ginger and winter-spice cookies. Our neighbours and the mail-man got a little bag each (wrapped in our home-made paper).
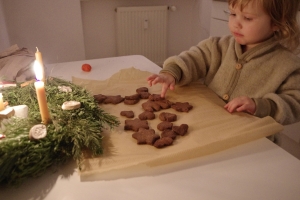
Cookies – Mrs Winter Creates
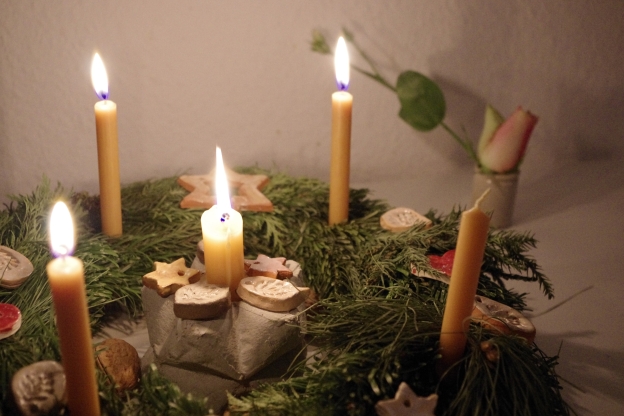
I also bought a very simple advent wreath for our table. I set the candles on it by forcing a sewing needle into the bottom end of each and then poking it through the wreath (which has a straw base inside).
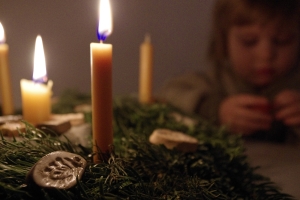
Warm light – Mrs Winter Creates
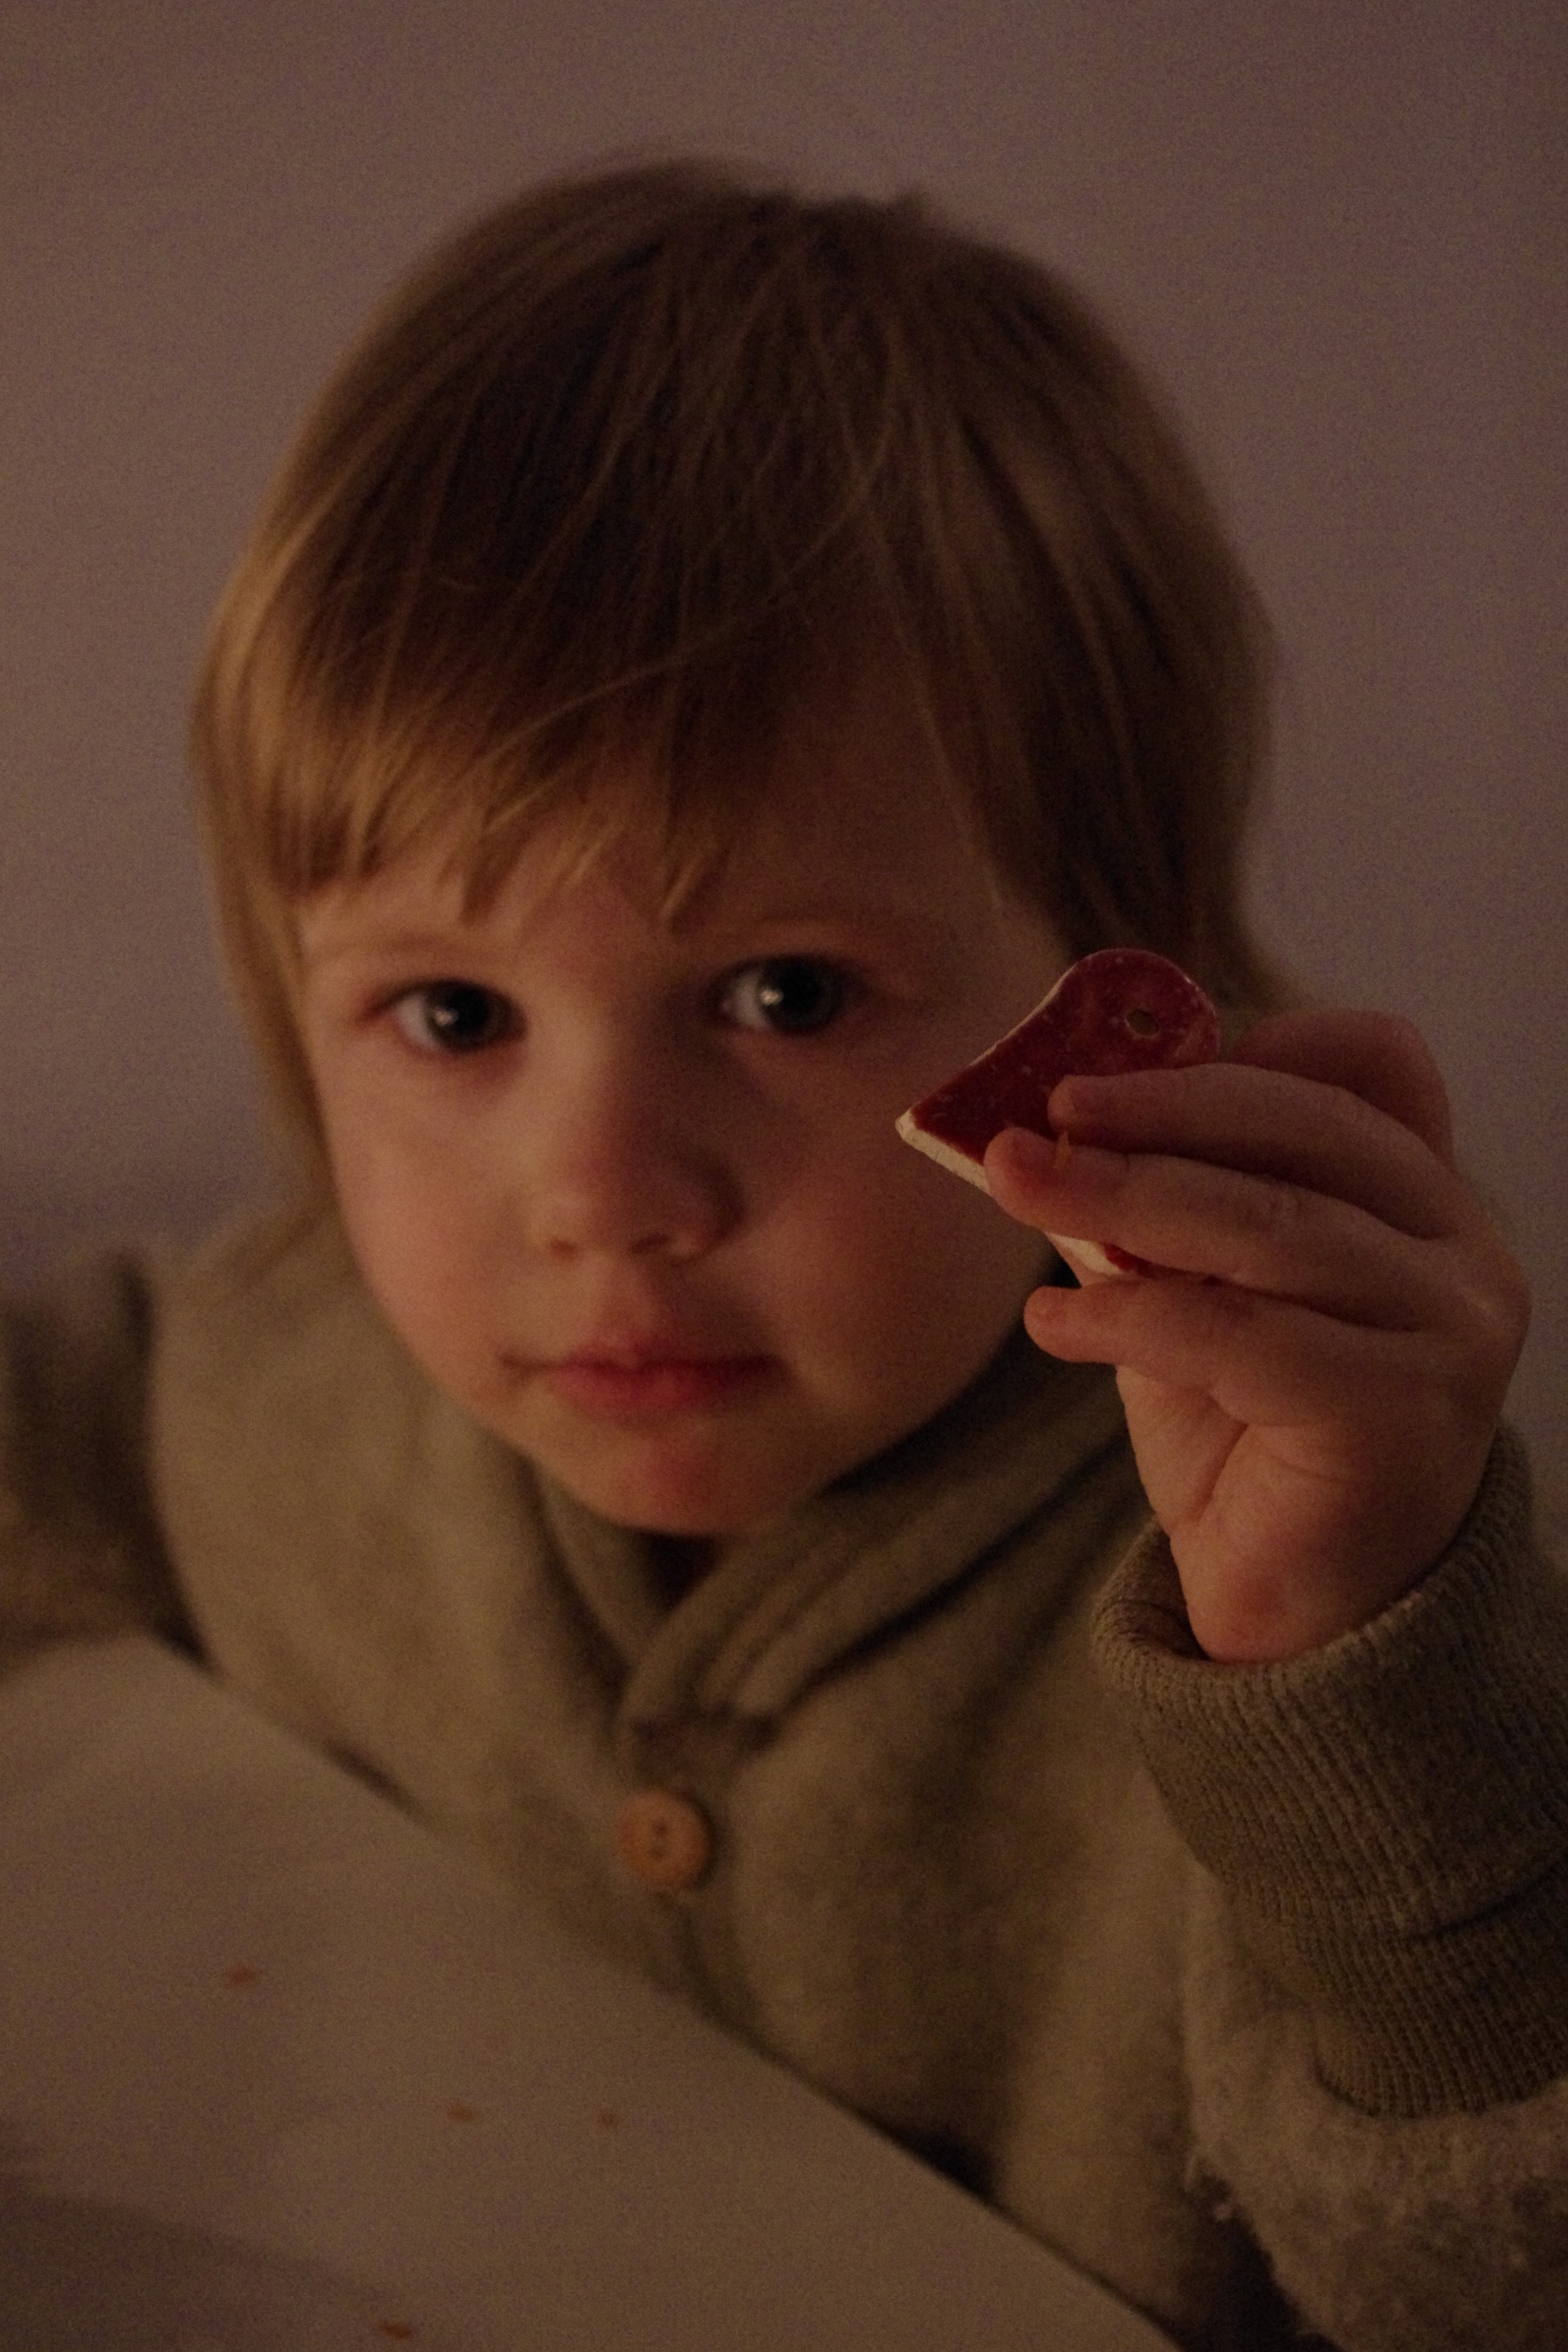
During my school’s winter market I was able to buy some very beautiful ceramic decorations. I wanted to make some myself but ran out of time, so this was a blessing.

Ceramic Christmas decorations – Mrs Winter Creates

Heart – Mrs Winter Creates
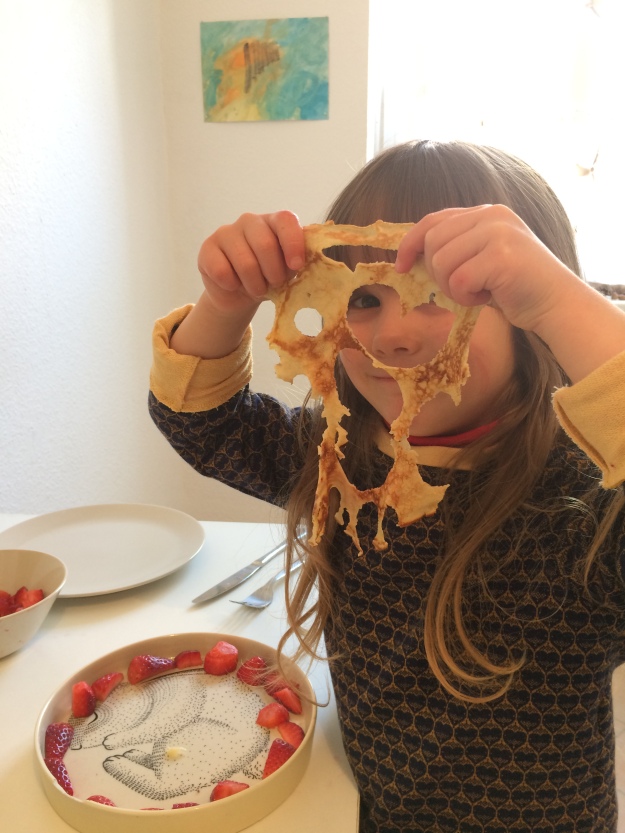
Miss K, who has her birthday in November, took some convincing that the candles were not birthday candles (‘Marmelade in der Schue’ anyone?) and did not need blowing out. In the end she learnt the word ‘candle’ and was able to make the leap.
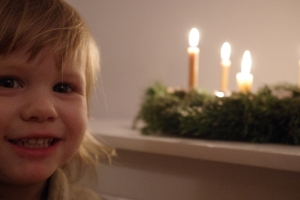
Smiley season – Mrs Winter Creates
In the last few days of Advent, as the little wax figurines of Mary and Joseph came closer toward the Christmas tree, Miss K became really excited that Mary has a baby Jesus in her belly. She was so careful not to touch the figurines. Finally on Christmas Eve, Mary and Joseph stood under the tree and a baby Jesus was before them.
We ate our dinner and Miss K and I went to see if we could see the first star in the sky. When we came back there were presents around the tree.

Christmas Tree – Mrs Winter Creates
These last few weeks have been very special and quiet. Now snow finally lines the streets and we all stay indoors and enjoy the quietude. Wishing you all the best for the new year!