It’s been some months since I have written and I hope you don’t mind the wait while we have been moving countries. We are in Berlin now and enjoying the remarkably great weather since July. I’m back into my teaching (and loving it! If you are a pedagogeek like me, you might enjoy my education journal that I keep), Miss K is enjoying Kita tremendously and our family has finally settled into our new home.
Before we left Australia a few of my posts for Mrs Winter Creates were put on hold because of the move. I’d like to share one of them with you now, fully written some 3 or so months ago. It is about a subject close to my heart – natural pigments. I hope you enjoy it and I look forward to blogging more here about the projects I’ve been focussing on in our new apartment.
—
I am so excited to share my newest project with you.
It could also be considered one of my oldest projects.
About 15 years ago when I was studying fine art at university, I began experimenting with fruit juice (mainly pomegranate, tamarillo and berry juices), calc, alum and rust to create abstract and minimalist paintings. I saw the transformation of their colour as alchemical and at the time I did not fully understand the chemical reasons behind the colour changes, thinking it rested solely in the oxidisation process. This whole experiment is something I have been meaning to get back to since that time; recently I have been taking the time to do so.
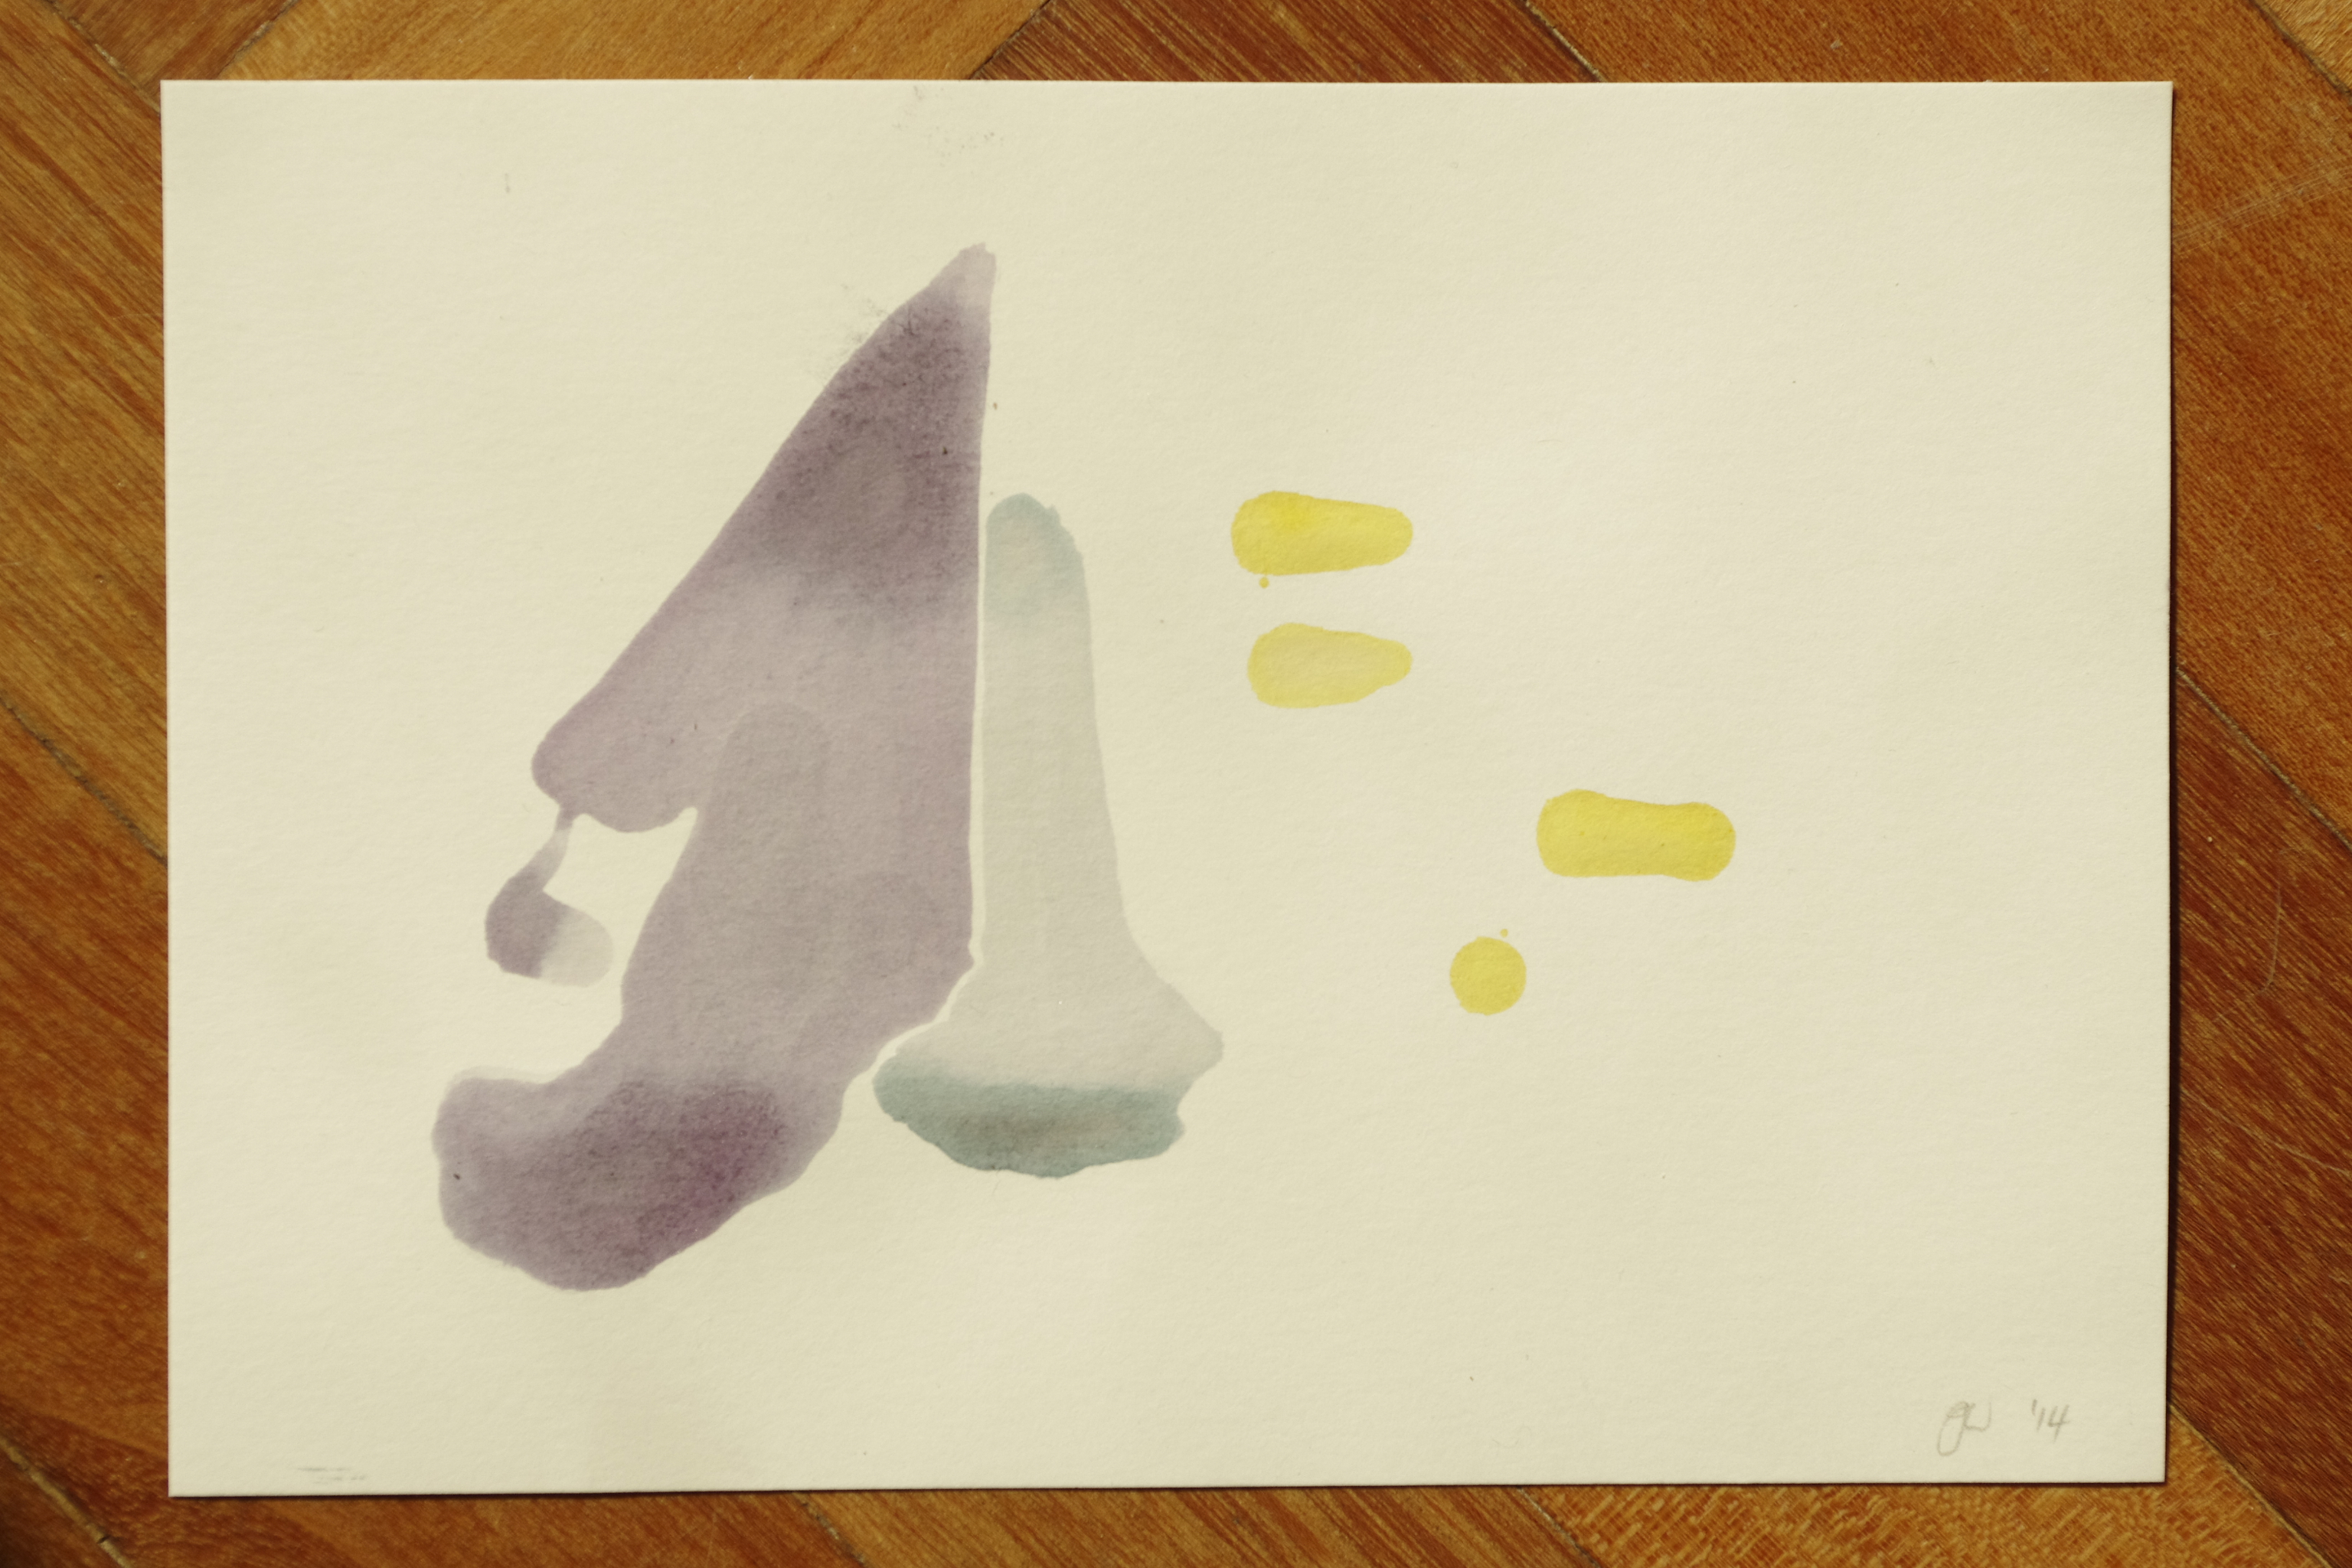
Painting with pomegranate juice – Mrs Winter Creates
I am working with a number of different ripeness’ of juice and rind of pomegranates in the process and have also used lemon juice in parts of certain paintings to gain some colour variation. In these paintings I have strong lilac, purple, yellow, pink, browns, prussian blue, cobalt and magenta. I remember being able to get a green as well, but as of yet I have not rediscovered this process.

Painting with pomegranate juice – Mrs Winter Creates
I prepared some of the paints about a week ago and have kept them in the fridge to preserve them. Once Miss K goes down for the night, I sit and experiment; it is like a meditation. Sometimes Mr Winter and I sit together working, he reads or draws and I glide a wet brush against watercolour paper with intention.
I like to sit and watch the colours change. Many begin as pink or red; they dry and a hint of a future hue appears. The paint pools in a corner or edge, there is a grain of seed flesh that creates punctuation to a field of colour. Subtle variations of hue can be observed in every dried mark, that is the beauty of plant based colour. It leaves me in awe and in love.

Painting with pomegranate juice – Mrs Winter Creates
These paintings do change with time, they become more muted over the years and tend toward a yellow-green as they mature. The change itself speaks of a natural transformation of organic elements, yet a strong impression remains. I considered preserving the paintings against UV rays and other ageing elements, but this would be dishonest to the process; and the process is central to the work.

Painting with pomegranate juice – Mrs Winter Creates
I love natural pigments and dyes. I would probably be quite satisfied dedicating my life to learning about and using them, though I believe soon enough my teaching and philosophy itch would set in.